-
Who This Checklist is For
-
Step 1: Lock in Your Frame and Size First—Everything Else Follows
-
Step 2: Choose Your Desktop Material (And Don't Let 'Premium' Fool You into Spending More Than You Need)
-
Step 3: Decide What 'Features' You Actually Need (The Grommet Hole Trap)
-
Step 4: Watch the 'Accessories' Page (It's a Budget Trap)
-
Step 5: Do the 'Shipping and Lead Time' Check (Where the Hidden Costs Live)
-
Common Mistakes to Avoid
When I first started managing office furniture procurement about six years ago, I assumed the lowest-priced frame option was always the right call for our bottom line. A few thousand dollars in unexpected shipping fees and replacement part costs later, I realized I'd been looking at the price tag instead of the total cost of ownership. This checklist is for procurement managers or small business owners who need a Fully Jarvis standing desk for their team but don't want to get burned by hidden costs. It's based on tracking about 50 orders through our system and refining our quote template over the last three fiscal years.
Who This Checklist is For
Use this if you're buying one desk for a home office or ten desks for a growing startup. The rules are the same. Honestly, the vendors who treated my $400 orders seriously a few years back are the ones I still use for $20,000 orders today. This list assumes you know you want the Jarvis frame—this isn't about comparing it to other brands. It's about optimizing your specific purchase.
Step 1: Lock in Your Frame and Size First—Everything Else Follows
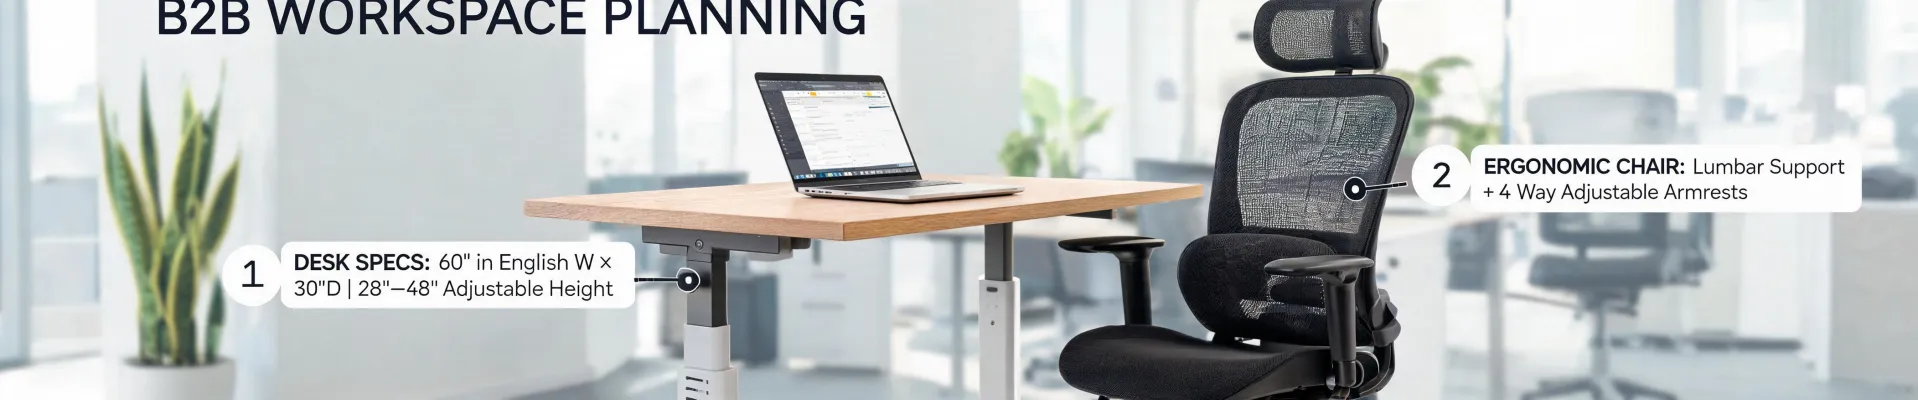
The biggest cost driver isn't the color or the grommet holes. It's the frame configuration. The Jarvis comes in a few frame sizes (the frame width dictates the desktop you can put on it).
- Frame sizes matter. If you need a 60-inch desk, you need the standard frame. For a 72-inch desk (like the L-shaped), you need the extended frame or an additional leg kit. This is where budget slips. I once had a manager ask for the L-shaped desk but didn't spec the extra support leg. The quote came back $150 lower than expected. We ordered it. The desk wobbled under dual monitors. We had to order the leg kit separately, which cost $180 plus shipping. The 'savings' turned into a loss. (Should mention: we now have a policy that any L-shaped order must include the support leg in the initial quote.)
Practical tip: Go to the Fully site and find the 'Frame Only' option to see the base cost of your skeleton. A standard rectangular Jarvis frame (27-inch depth) as of March 2025 starts around $500. The L-shaped frame with the additional leg will add roughly $200-$300. Lock this number in your head. It's your floor cost.
Step 2: Choose Your Desktop Material (And Don't Let 'Premium' Fool You into Spending More Than You Need)
Your frame cost is fixed. The desktop is where you have real flexibility. Fully offers bamboo, laminate, and hardwood. I've tried all three over 6 years. If I remember correctly, the cost difference can be as much as $200 between a basic laminate and a premium hardwood.
- Laminate (approx. $100-$150 for a standard top): It's durable, resists scratches, and is the best value for a general office. I use laminate in our open-plan area. It holds up fine. The color options are good (white, black, grey).
- Bamboo (approx. $150-$200): This is Fully's eco-friendly edge. It's harder than most hardwoods. It looks good in a creative or executive office. The 'Natural Bamboo' finish is a soft, warm tone. If sustainability is a checkbox for your company, this is a painless way to tick it.
- Hardwood (approx. $300+): Honestly, unless you are an architect or designer or this desk is in your personal home office and you want a specific aesthetic, skip it. The cost jump is steep. I ordered a Butcher Block top for my own office—it's beautiful, but I could have gotten 2 laminate desks for the same money.
Decision point: If you're budgeting for 5 desks, the material choice can shift your total by $750-$1,000. That's a serious line item.
Step 3: Decide What 'Features' You Actually Need (The Grommet Hole Trap)
My initial approach to ordering was to click 'pre-configured' and move on. After a few batches, I realized we were over-spec'ing. Here's the real cost drivers in the 'features' menu:
- Grommet holes (add $10-$20 per hole, or lose the option depending on configuration): You can buy a desk with a grommet hole for cable management or without. The pre-configured models often include them. My gut said 'we must have cable management.' The data said only 30% of our staff actually use the grommet holes—they just run cables over the edge. For a $1,400 budget, saving $20 per desk on a 10-desk order saves $200. That's a decent set of cable covers. We now spec grommet holes only for desks in video conferencing rooms where cable visibility is a concern.
- Cable management tray (add $30-$50): Highly recommend for the main desk. Skip for secondary workstations.
- CPU holder (add $100-$150): Useful if you have towers. If you use laptops, skip it. We bought 5 CPU holders for a 20-desk order. Only 2 desks actually have towers. The other 3 are sitting in a storage closet. That's a $300 waste. (Should have surveyed our hardware first.)
Step 4: Watch the 'Accessories' Page (It's a Budget Trap)
This is where the psychology of 'while I'm here' kicks in. The Jarvis desk page is clean. The accessories page is a playground. Every item is $30-$100. They add up fast.
- Anti-fatigue mats ($30-$100): Good for standing desks. But you can get a better one from a floor mat supplier for half the price after you have the desk. Don't tack it on to the initial order unless you're getting a free shipping threshold. We lost about $400 on overpriced mats in our first year before I added a 'accessories approval' step to our purchase order.
- Warranty extension (add $50-$100): The standard Jarvis frame has a 15-year warranty. I don't buy extended warranties for the frame. The motor is covered for 7 years. By year 7, even if you need a new motor, it's a $200 part. Spending $100 today for a potential $200 cost in 7 years doesn't math out for me. Our cost tracking shows we've had one motor issue in 6 years. That's a 2% failure rate. The warranty cost was already 'in the risk budget.'
The math: A basic desk setup (frame + laminate top + no accessories) is about $650. A fully loaded setup (frame + hardwood top + mat + tray + CPU holder) can easily hit $1,100. That's a 70% increase for stuff you might not need.
Step 5: Do the 'Shipping and Lead Time' Check (Where the Hidden Costs Live)
This is the biggest lesson I learned the hard way. The first time we ordered, I saw 'Free Shipping' and assumed we were done. Then the desk arrived in two boxes—one for the frame, one for the top. If you don't schedule a delivery appointment, it sits on your loading dock. Our process gap was we didn't have a formal receiving window. We had to pay a night crew to move the boxes indoors. That cost us about $250 in labor for a $1,200 order.
- Lead times: As of March 2025, standard lead time for a Jarvis with a laminate top is about 5-7 business days. For a bamboo top, maybe 10-12. For a custom hardwood, it could be 2-3 weeks. If you're on a tight move-in date, a faster lead time on a simpler (and cheaper) top might be the better play.
- The 'faster' shipping cost: Don't pick expedited unless you absolutely have to. I checked our Q3 2024 order data. The average cost for expedited shipping from Fully was $40 more per order. We used it twice for last-minute hires. It was worth it those two times. If I had left it as standard, I would have lost $80 on a gamble that wasn't necessary.
Common Mistakes to Avoid
- Buying the 'L' shape for a corner that's too small. Check your actual floor plan. We returned one L-shaped desk because it didn't fit the corner. Return shipping is expensive (think $150-$200). We now use a cardboard template to test all corner-fit desks before ordering.
- Ignoring the 'sit-stand' height range. The Jarvis goes low enough for very short users and high enough for very tall ones, but check your team's needs. For a team of shorter users, you might need the extended low-range option. It's free, but you have to select it.
- Forgetting the power cord. The desk itself doesn't come with a power surge protector. You'll need to buy one. It's not a huge cost ($20), but it's an extra trip.
Final thought: Buying a Fully Jarvis desk isn't rocket science, but the cost can drift if you don't track it. Use this checklist: frame & size → desktop material → features (grommets, tray, holder) → accessories → shipping & timing. That sequence will keep your procurement from ballooning. I've used this on about 20 orders in the last 18 months, and it's kept our desk budget within 5% of the initial forecast.
